


Japanese Shio Pan (Salt Buns) Recipe: Revisited
A revisit to this delicious recipe for crispy, soft, buttery salt buns. I'm sure you'll enjoy these delightful treats for breakfast or as a snack.


Happy Friday readers! I’m not sure about all of you, but in my timezone, its the end of the week. Here is a special end (or near the end) of-the-week revisited bread recipe to try out during the weekends!
I felt I needed to revisit the previous uploaded iteration of these Japanese Salt Bread buns. There were good points in the previous attempt, it was soft and milky, but texture-wise, the previous iteration did not have the crispy, crusty exterior while only achieving the desired soft interior of a Shio Pan. But before I delve more into the process, just a quick brief introduction on Shio Pans.
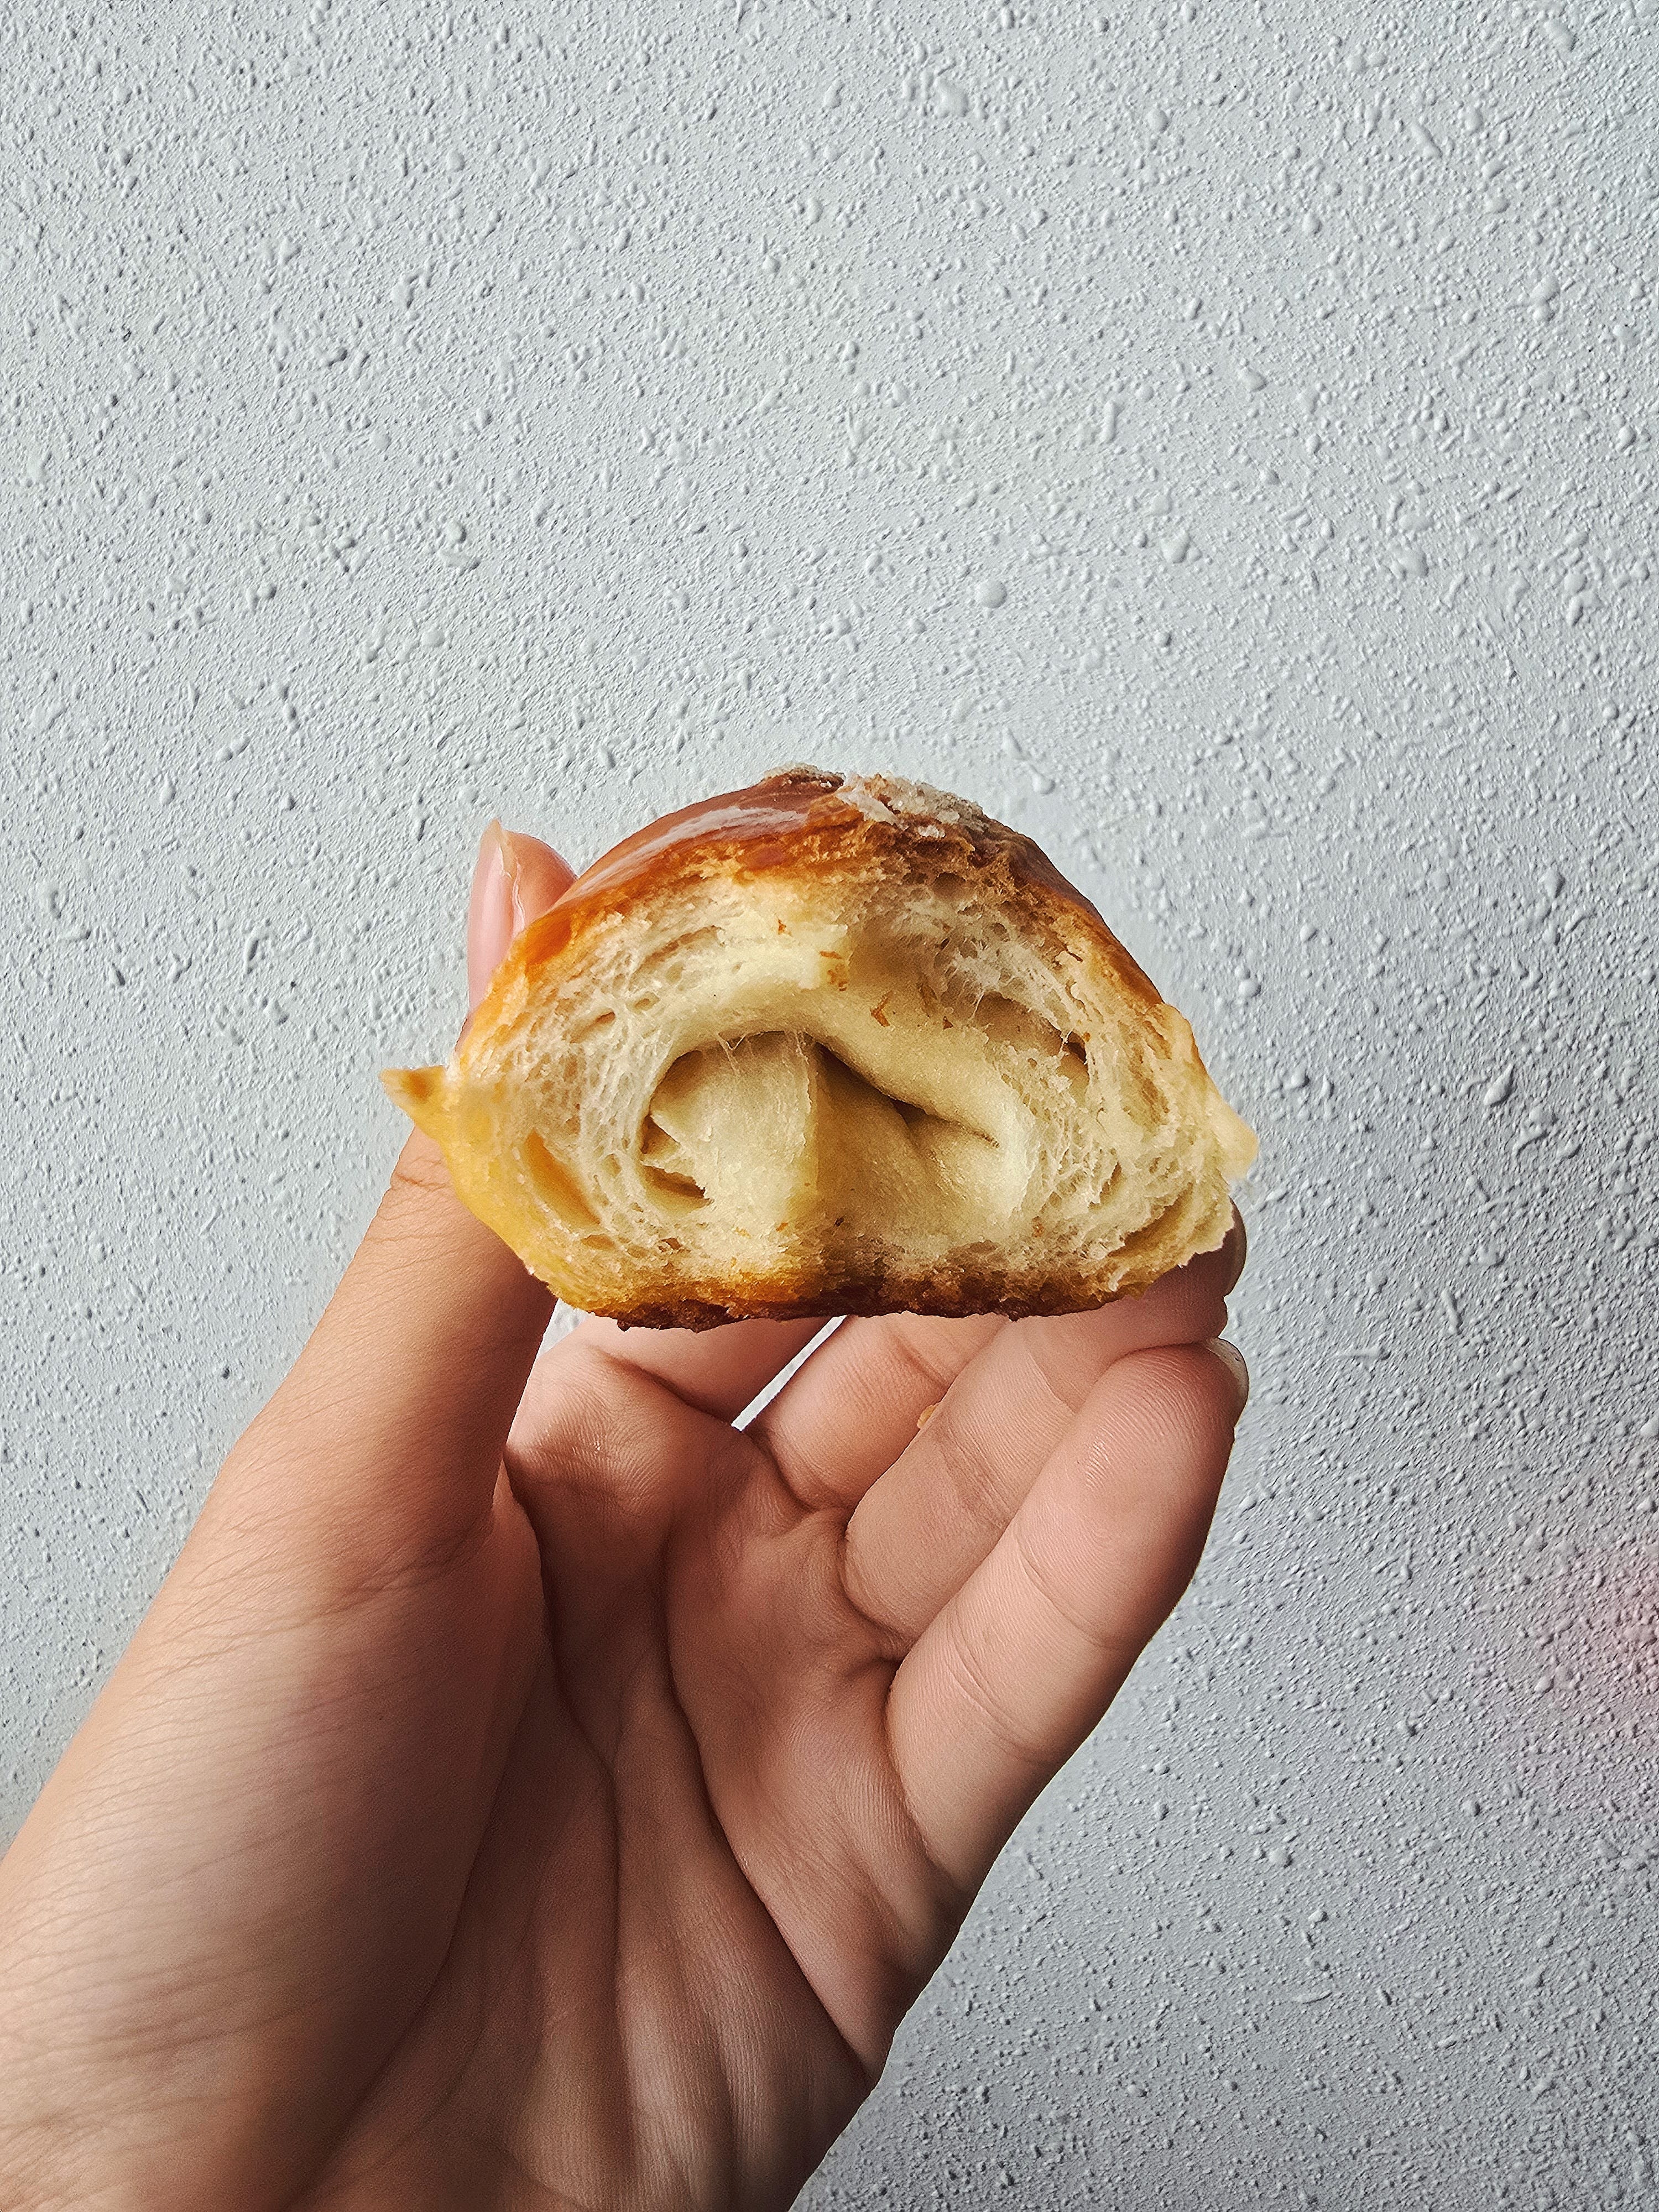
Shio Pans are Japanese Crescent-shaped salted butter rolls, perhaps inspired by croissants or crescent rolls. They are known for their crunchy exterior, tenderly soft interior and their irresistible crusty bottoms. The hallmark of a good Shio Pan is one that is able to fulfill the three qualities of a delicious piece of bread.
So what did I change from the previous recipe?
If you’ve read the post prior, I did mention that I had to substitute milk powder with fresh milk. On the surface, this substitution might come across as a direct substitute, however, the presence of extra sugars from the lactose present in fresh milk, as well as the extra milk fat resulted in a soft interior, but compromised the crust of the bread. Instead, what I had instead was bread that was soft but not crunchy. To achieve a crusty exterior, there needs to be less sugar and fat in the bread itself, thus I used skimmed milk powder instead of fresh milk or full-cream milk powder to achieve the desired crust on the Shio Pan.
Another amendment I did was to include Plain Flour in the recipe. Other online recipes would tell you to include Cake or Pastry Flour, these are flours with a low protein content of usually 10% or less (the Plain Flour brand I’ve used had a 10% protein content). While I cannot directly conclude that the inclusion of Plain Flour was a key factor in the recipe, I did feel that the overall crumb in the Shio Pan (with the inclusion of Plain flour) was more tender and soft, in comparison to the previous attempt.
Furthermore, I’ve reduced the amount of sugar and butter included to make the dough slightly leaner as compared to the prior recipe.
Ensuring my bread turns out well
There are three main factors to the bread-making process: kneading, proofing and baking.
In the kneading process, we want our bread to pass the windowpane test. Pinch out a piece of dough and stretch it. It should be able to be stretched to a point that light is able to pass through the dough. This is a signifier that the dough’s gluten has been formed, and it results in a sturdy and tender crumb.
Proofing is simple. Proof the bread in a warm but not hot environment. We want to avoid the butter from entirely melting in the Shio Pan before it hits the oven. An ideal temperature for proofing Shio Pan would be 25-27 degrees, similar to Croissants (but are not as finicky as the croissant proofing). The butter block should be frozen before placing it in the base of the shio pan triangles before rolling.
For baking, we want to spritz the buns with water. This helps to create a tender crust. Next, we want to bake the buns on high heat at around 210 degrees celsius for 10 minutes to maximise oven-spring, creating buns with more volume. Then, turn down the heat to 170 degrees celsius to continue baking. This is to ensure that the buns cook evenly and do not burn in the oven.
Recipe
Makes around 10-11 shio pans
Ingredients
305g Bread Flour (preferably with 12.5%-14% protein content)
50g Plain or Pastry Flour
60g Skimmed Milk Powder
40g Sugar
7g Salt
7g Yeast
197g Water
45g Unsalted Softened Butter
10-11 Strips of 10g Frozen Salted Butter Blocks
Flaky Sea Salt
steps
Mix bread and plain flour, milk powder, water, sugar, yeast and salt until it is well combined and forms a sticky dough.
Let the dough rest for 15 minutes for hand-kneading.
Add softened butter and mix until the dough is no longer sticky and it passes the windowpane test. Knead the dough into the shape of a ball and it should have a smooth surface.
For hand-kneading, let the dough rest for 15 minutes after kneading in the butter, continue kneading after 15 minutes again until the dough is no longer sticky and it can be kneaded into a ball with a smooth surface.
Let the dough rise until double its volume. It should take about 45 minutes to 1 hour 30 minutes depending on the room temperature.
In the meantime, cut 10 8g blocks of salted butter. Freeze them till you are ready to roll.
Punch the dough down and put the dough on a clean work surface. Divide the dough into 10 portions. Each dough should ideally weigh between 60-62 grams. Form each dough into a tear-drop shape.
Pat to flatten dough into a rough rectangle. Fold top and bottom lengthwise, inwards to the middle. Afterwards, fold one of the ends inwards. The seams should look like a Y shape now. Fold top and bottom lengthwise again to seal up the seams. You can do this by using the base of your palm to press down the ends or just use fingers to pinch. Place the dough seam side down. It should look like a teardrop shape now. Repeat with remaining dough.
Let rest for 15 minutes.
Place one dough seam-side down, the smooth side should be facing you. Roll out each dough into an elongated triangle and place a cold butter block near the base of the dough horizontally. Roll it up into a crescent shape/ shape of a croissant. Repeat until all the doughs are rolled up.
Place it on a baking tray and let it proof at around 25-27 degrees celsius for 30 minutes to 1 hour till doubled in size. Preheat the oven to 210 degrees celsius or 425 degrees Fahrenheit. (Use Conventional Oven setting).
Sprinkle the top of the buns with Flaky Sea Salt and Spritz them with water before baking. Bake them for 10 minutes, reduce heat to 170 degrees celsius and continue baking for about 8 to 10 minutes till desired brown colour.
Cool and enjoy.
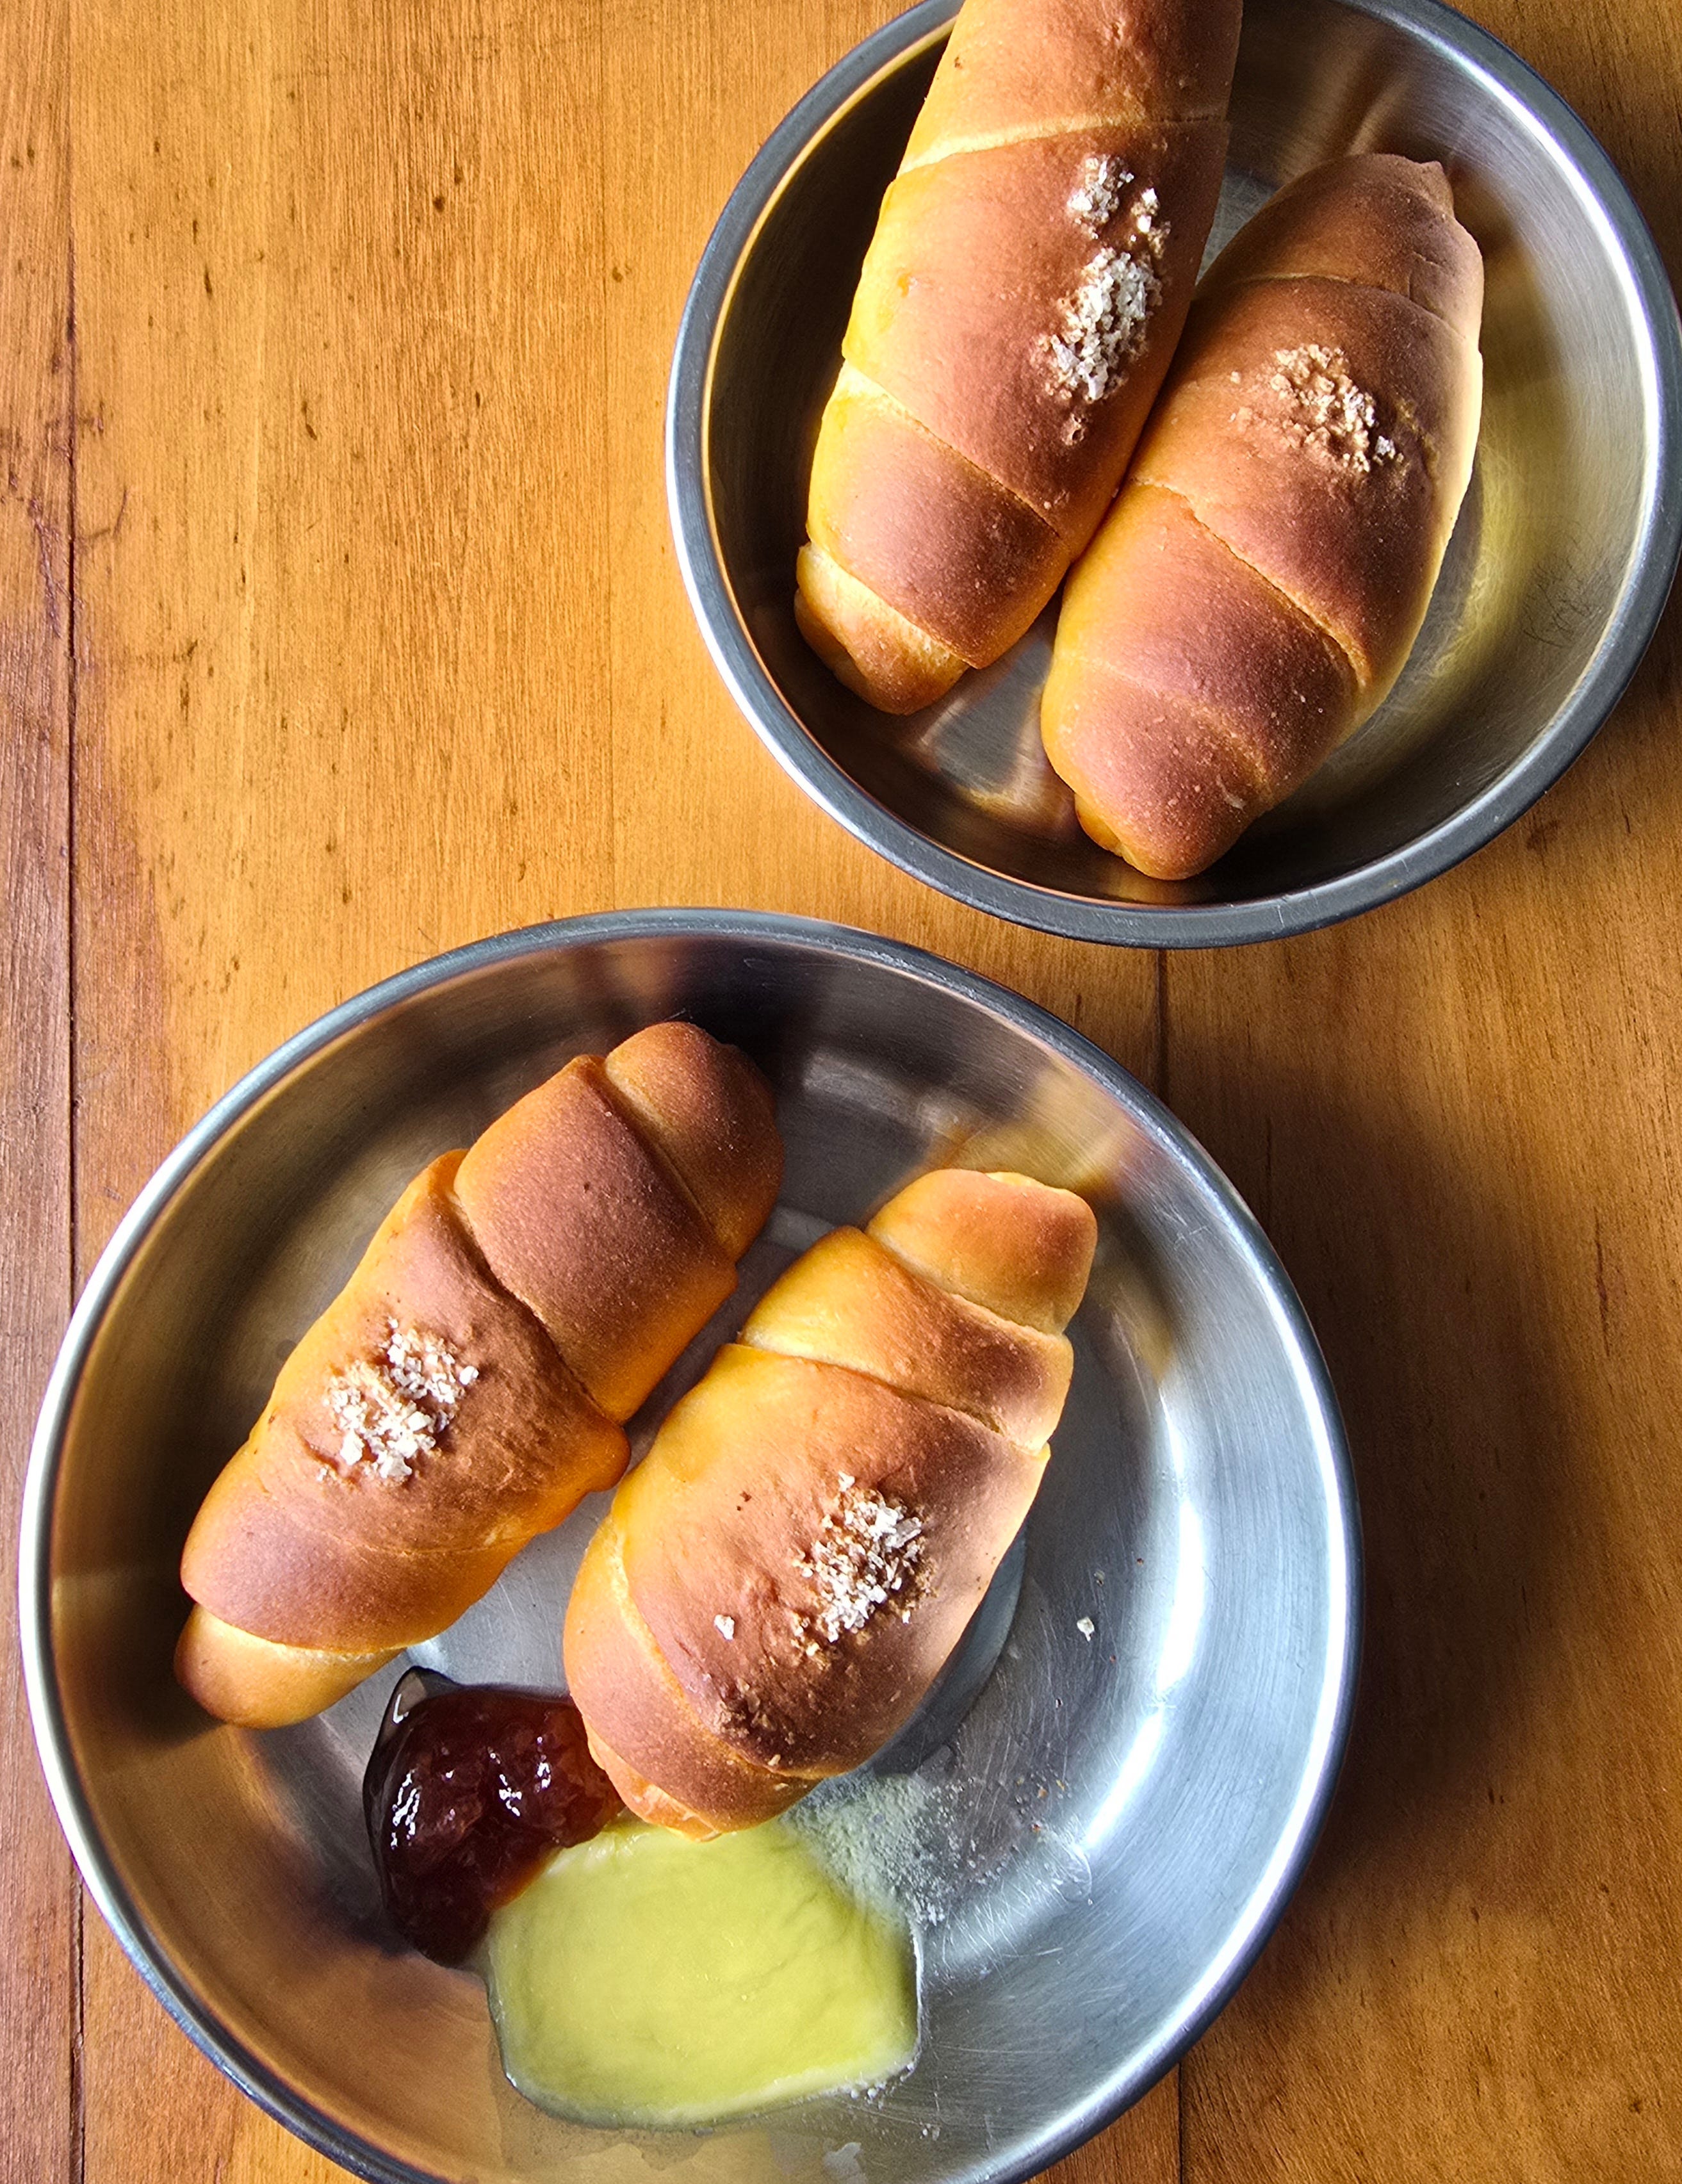
Shio Pans are best enjoyed warm and fresh from the oven, served alongside your favourite jam or high-quality salted butter. They can be kept up to 3 days at room temperature. Reheat these Shio Pans in an oven at 170 degrees celsius for 3 to 5 minutes.
Hope you have enjoyed this post from The Weekend Munch! Do interact with my post and share your thoughts! I’d like to hear more from you!
It is normal after the baking process to have some melted butter on the parchment paper. This won't affect the quality of the Shio Pan. A trick I do is to brush some of the melted butter onto the Shio Pan when its fresh from the oven, it adds flavour to the bread!
give me someee